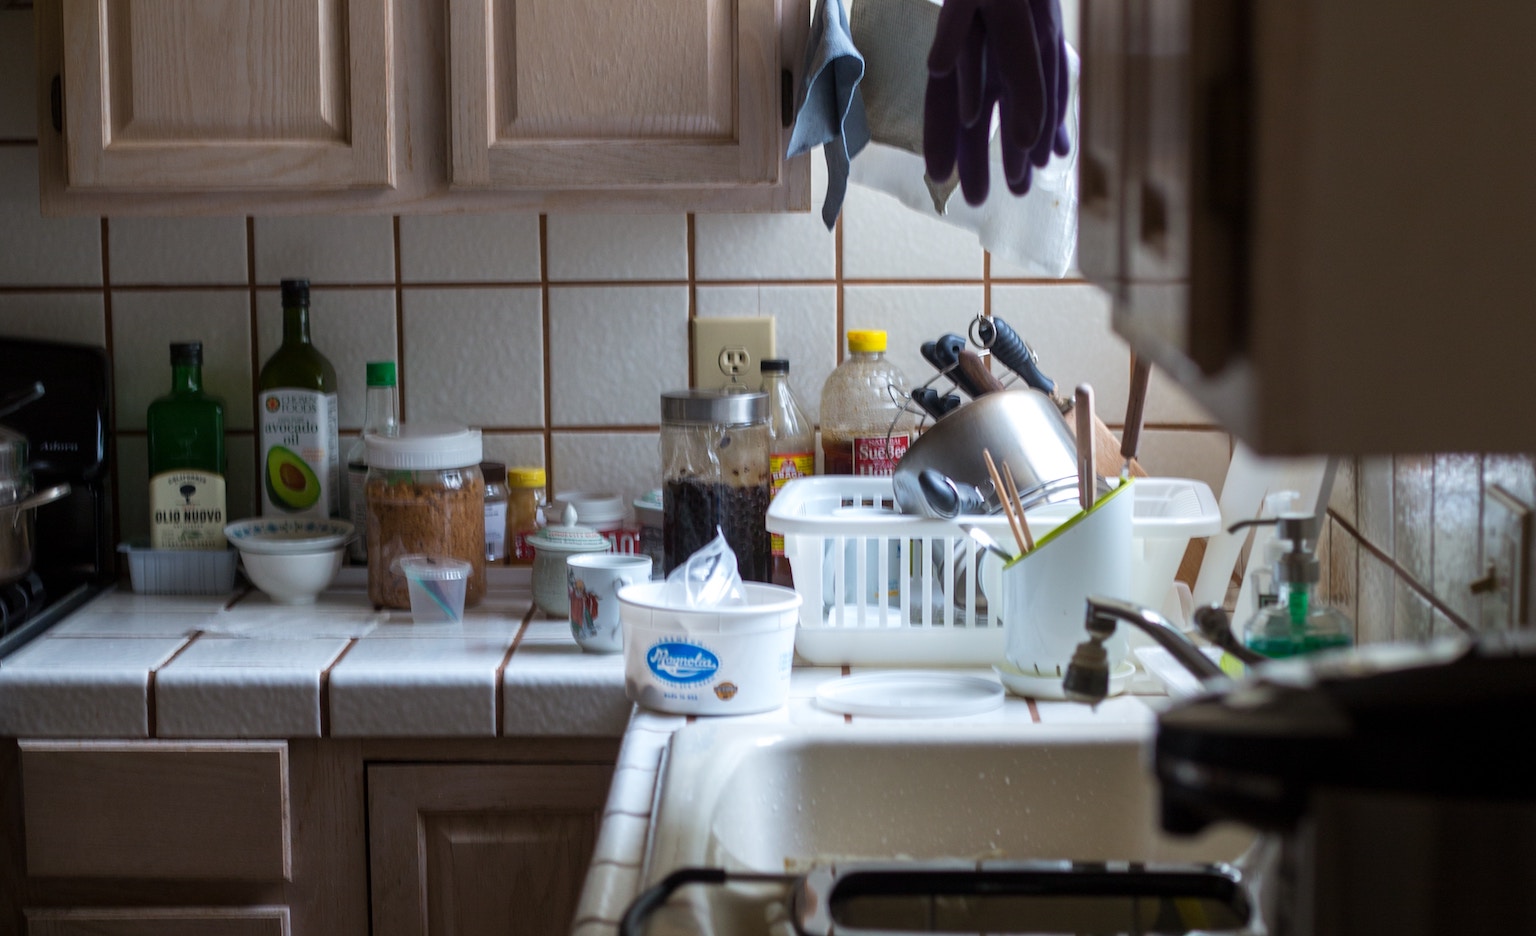
Make no mistake about it; kitchens get dirty. Yet, the unique mixture of heavy everyday usage, a variety of different fixture materials and all the different potential contaminants at play often makes the kitchen one of the most challenging rooms in the house to keep clean.
Luckily, there are many simple, do-it-yourself ways to get your kitchen surfaces and appliances sparkling again. Here are some of the best kitchen cleaning hacks and how to clean your kitchen:
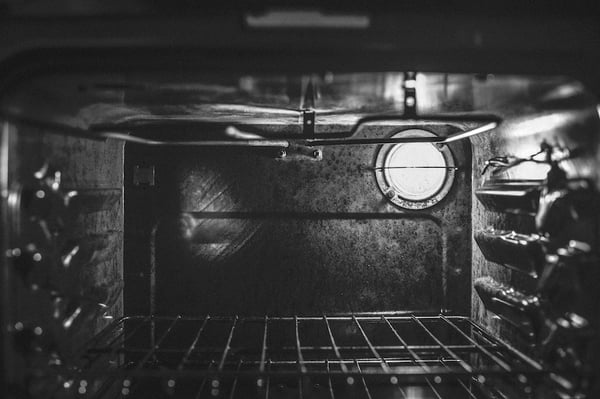
1. Oven cleaning with ammonia
Don’t rely too much on your oven's self-cleaning capabilities. While self-cleaning cycles used sparingly can be effective, using them too often can actually damage your appliance. The high heat generated by the self-cleaning cycle isn't designed for regular usage.
Instead, try this simple method using ammonia. Fill a bowl with half-cup ammonia, place it inside your completely cooled oven and allow it to sit overnight. The fumes from the ammonia will help loosen even the most caked on stains.
Don’t forget to read the instructions on the ammonia bottle carefully, as this liquid must be stored safely. The instructions can also give you info about how to effectively dilute ammonia as well, The Spruce says.
2. Clean kitchen vents with mineral oil
Anywhere the heat vents from an appliance—whether its an oven or microwave—is likely to develop a built-up residue. Most often, this takes the form of an oily buildup or greasy film that’s part cooking oil and part dust or other debris. Removing it can be a challenge, since oil coats surfaces and resists abrasives like scouring sponges, which can damage the finish of your fixtures.
Instead of scrubbing, use a paper towel moistened with mineral oil to wipe the surface down. By building up a coating of oil on top of the greasy residue, you should be able to wipe it clean with a dry paper towel.
3. Clean light fixtures in the dishwasher
Treat your glass light fixtures like any other plate or dish: Remove them and put them in the dishwasher on a normal cycle. Once done, dry them carefully to reduce spotting.
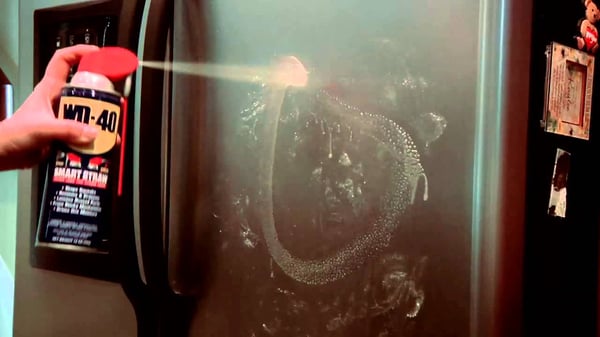
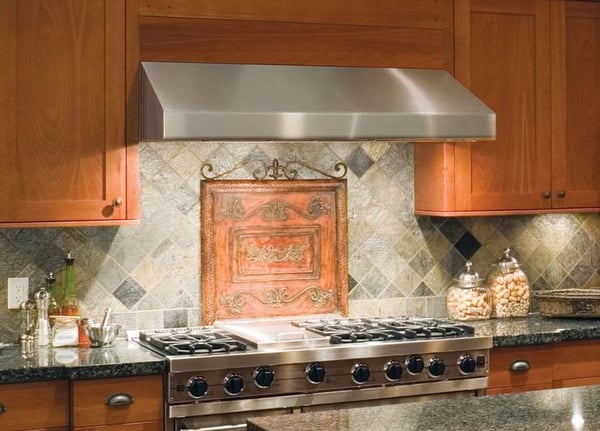
4. Polish and shine stainless steel and copper with household supplies
Think you need to buy an expensive, single-purpose cleaning solution for your stainless steel and copper appliances? Think again! Simple household supplies can do an excellent job keeping things clean. You can polish stainless steel with WD-40, lightly sprayed and rubbed off with a washcloth.
Meanwhile, if your copper cooking items have lost their lustre, try dipping a cotton swap in ketchup and applying it to the dulled surface. After you wipe the ketchup off and polish the pot, it will shine.
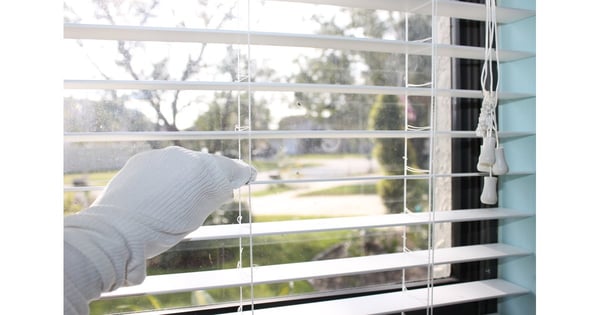
5. Remove dust from kitchen blinds with a sock
Rather than using a handheld dust remover, use an old sock, lightly moistened with water, to remove dust and dirt for kitchen blinds. Put your hand in the sock, grip each panel of the blinds and move the sock from end-to-end.
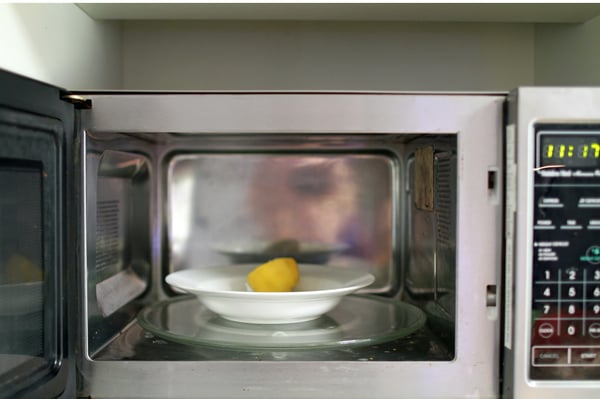
6. Cleaning and deodorizing a microwave
To clean your microwave, simply mix equal parts vinegar and water in a coffee cup. Microwave on high for three to five minutes. Once the cup cools and the steam dissipates, wipe down the surfaces with a damp cloth. If you want your microwave to be extra clean and deodorized, follow this up by filling a cup or bowl with one-cup water and half-cup lemon juice and placing it in the microwave.
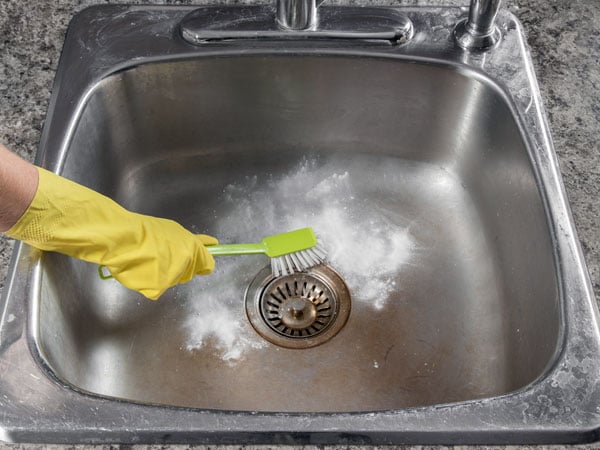
7. How to clean a kitchen sink
When you’re cleaning the kitchen, a major spot to focus on is your kitchen sink. To clean your kitchen sink, first collect the supplies listed below, as recommended by BrightNest:
- Liquid dish soap
- Baking soda
- Old toothbrush
- Distilled white vinegar
- Several soft sponges or rags
- Paper towels
- Small basin
Step 1: Warm water
First, if you’re working with a stainless steel or porcelain sink, wet the entire surface of the sink with warm water. Then, to ensure a thorough cleaning, sprinkle baking soda over the sink and scrub the powder in with a soft cloth or sponge. Do this until the baking soda forms a paste.
Step 2: Scrub
Next, using an old toothbrush, scoop up some of the baking soda paste and use the toothbrush to scrub the paste into the caulk seal around your sink, the faucet, and the underside of the rubber drain flaps, BrightNest recommends. Don’t forget to rinse your toothbrush often and add more baking soda as needed. Then, rinse the entire wink with water, removing all of the baking soda paste residues from the surfaces. After you’ve fully cleansed the surface, wipe the sink down with a dry, clean cloth.
Step 3: Rinse with vinegar
Now, pour several cups of white vinegar into a small basin, BrightNest says. Dip paper towels into vinegar in the basin and cover your sink with the saturated towels while avoiding the faucet. Let the towels sit for 20 minutes before tossing them out. Lastly, rink your sink one last time using warm water and dish soap to get rid of any traces of vinegar or hydrogen peroxide.
Once your kitchen cleaning is done, don’t forget about regular maintenance to keep it clean. If, however, you find that your kitchen fixtures are soiled or broken down beyond repair, or you’re remodelling your kitchen, it may be time for something brand new. Stop by a Vague & Vogue showroom today for inspiration!